Prevent Halos and Edge Mistakes in Transparent PNGs
A practical checklist to avoid halo/edge artifacts when using transparent PNG product cutouts on different backgrounds.
Introduction
Transparent PNGs are great for product cutouts, but they can create a common visual problem: halos, fringes, or edge artifacts. It often happens when the transparent edge was generated against a different background than the one you use on your site.
This guide gives you five checks to prevent those artifacts and keep cutouts clean across backgrounds. You can use the crop tool and resizer on xcropimage.io to standardize exports and framing.
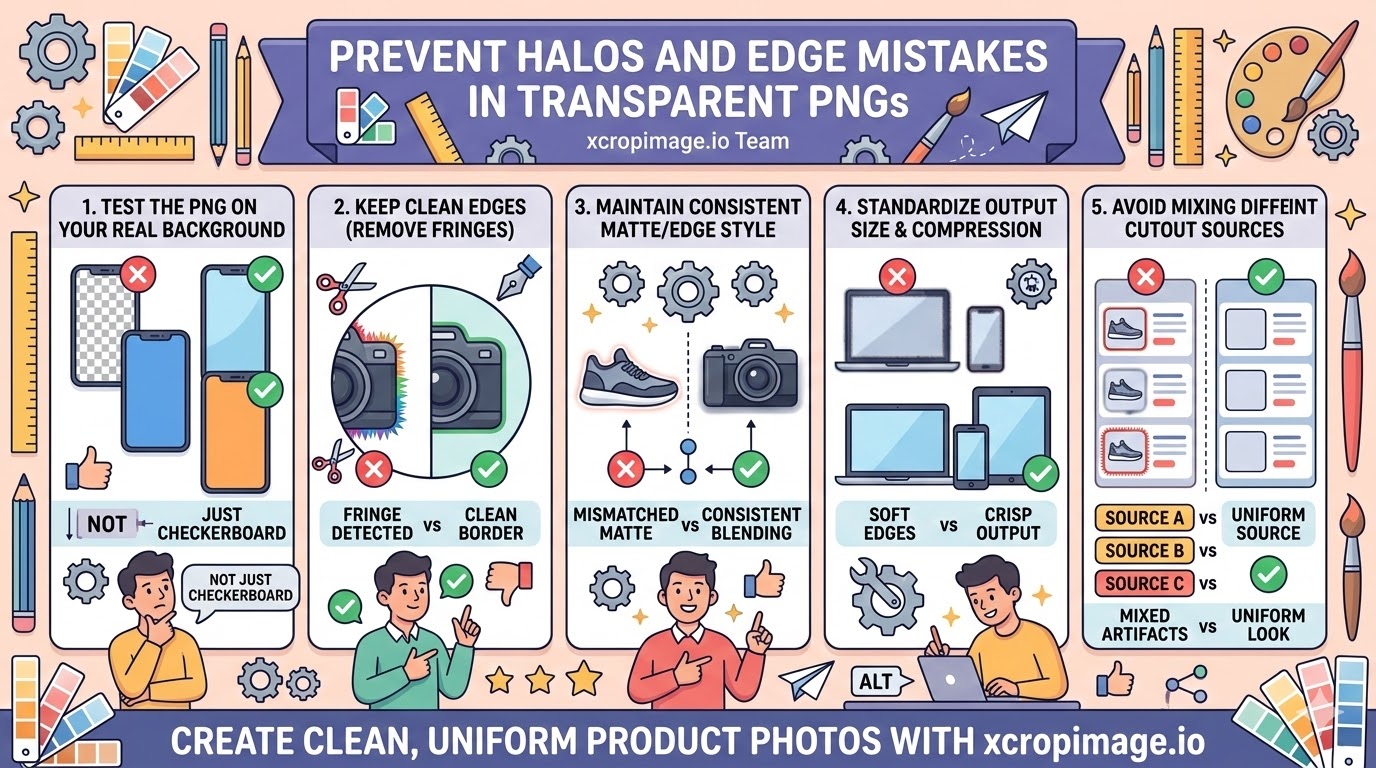
1. Test the PNG on your real background
Don’t judge cutouts on a single checkerboard view. Place them on the same background tone/color you use in your UI.
Halos often appear only on specific colors.
2. Keep clean edges (remove fringes at the border)
If you see a colored fringe, the edge needs cleanup.
Use a tighter crop and verify edges in close view; crop tool helps remove leftover border clutter.
3. Maintain a consistent matte/edge style
Many halo issues come from a mismatched “edge matte” used when the cutout was prepared.
When possible, regenerate or re-process the cutout so the edge blending matches how it will be displayed.
4. Standardize output size and compression
Artifacts can become more visible after resizing or heavy compression.
Export consistently with the resizer and keep quality high enough for crisp edges.
5. Avoid mixing different cutout sources in one gallery
If some PNGs come from different tools/workflows, their edge behavior can vary.
Standardize cutout exports so your gallery looks uniform and trustworthy.
Conclusion
Halo-free transparent PNGs come from five checks: test on the real background, keep border edges clean, align matte/edge style, export consistently, and standardize cutout sources across your gallery. Use crop and resize tools on xcropimage.io to help your PNG exports look clean and consistent.